Forget
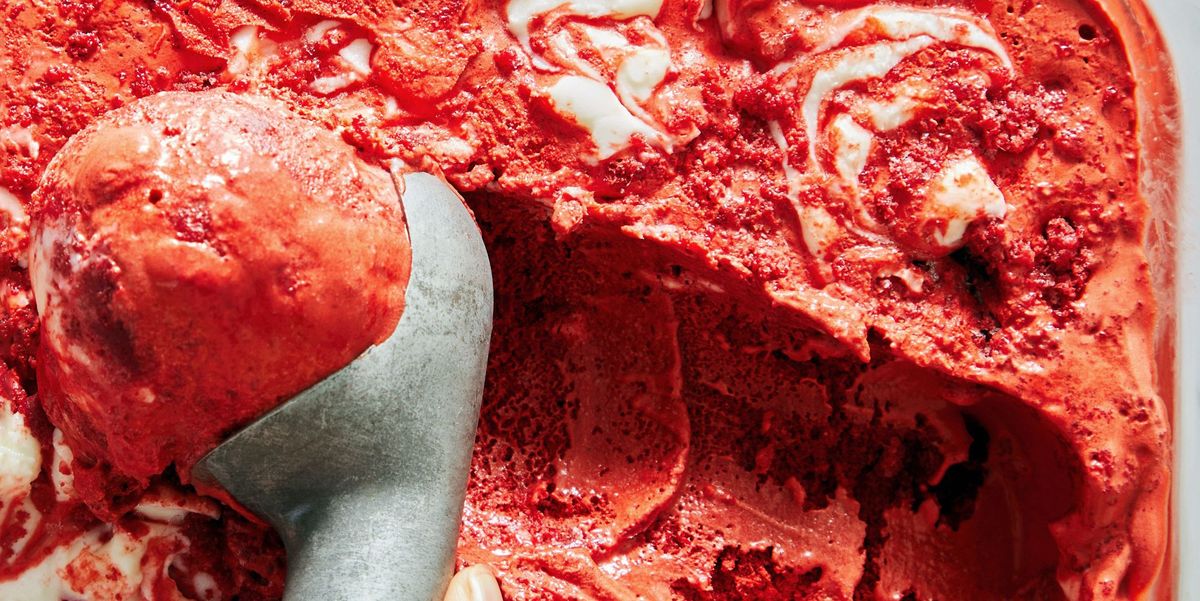
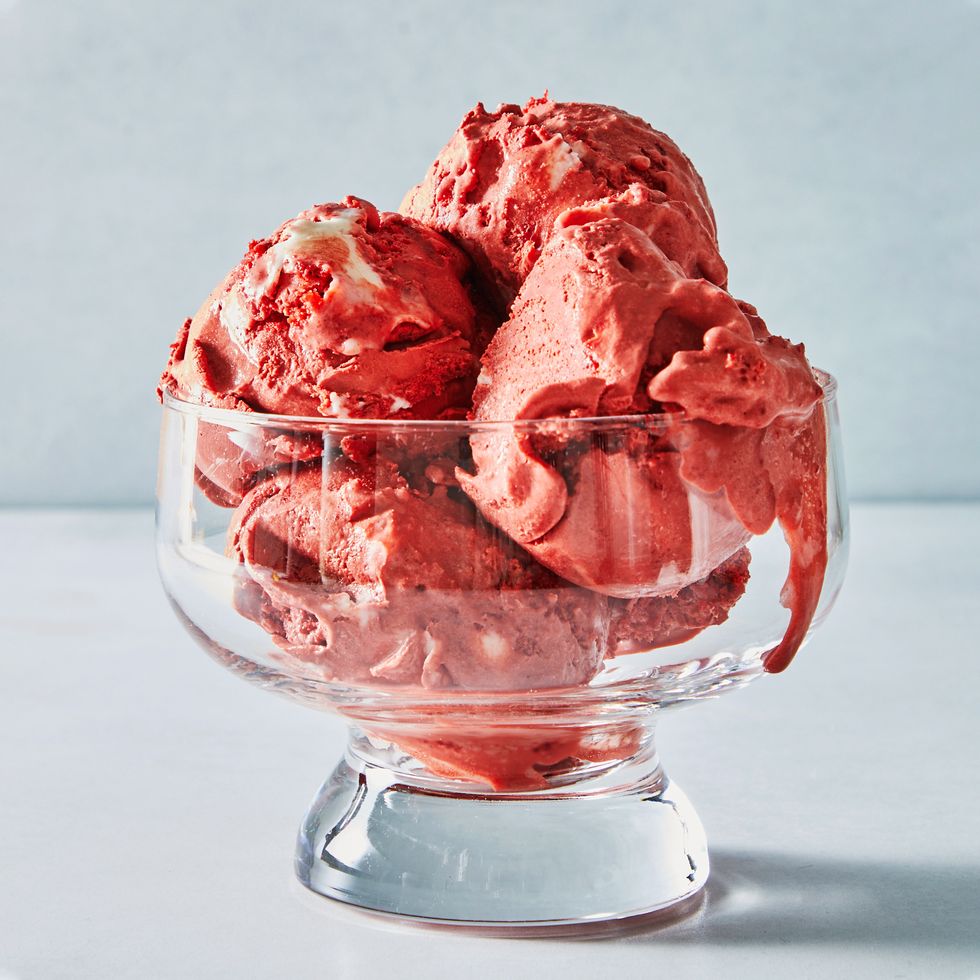
chocolate-covered strawberries or a dozen roses, homemade ice cream is the dessert that will be stealing our heart this Valentine’s Day. This creamy homemade red velvet ice cream is made with a buttermilk base and cocoa powder for that iconic chocolatey, tangy red velvet flavor we know and love. It’s an ideal treat whether you’re watching a movie with your sweetheart, need a cure for a broken heart, or are simply looking for a homemade treat that brings the decadent red velvet vibes. Looking to try your hand at this heartfelt treat? Keep reading on for all of our top tips down below:
The red velvet cake:
We crumbled some red velvet cake into our ice cream (as well as a swirl of cream cheese frosting) so you really get the red velvet cake vibes in every bite. You can make your own cake, or buy a few cupcakes from a local bakery to make it even easier.
How to make homemade ice cream:
While we have plenty of no-churn ice cream recipes (hello, mudslide no-churn ice cream), this recipe uses an ice cream maker. It makes the process so quick and easy. Plus, it would be a perfect Valentine’s Day gift if you don’t have one. 😉
Here are some of our top tips for making homemade red velvet ice cream:
— Scrape the sides down. When churning your ice cream, be sure to scrape the sides down. A lot of ice cream will freeze to the sides, and you want to make sure the whole batch gets a chance to harden. Scraping the sides with a metal spoon or stiff rubber spatula will help better mix and uniformly freeze your ice cream.
— Softer vs. firmer ice cream. After you’re done churning, your ice cream will be at a soft-serve consistency, which means you can enjoy it right then and there if you really want. For a firmer ice cream, be sure to let it freeze until completely solid—this will take up to 6 hours.
Storage:
Your ice cream can be kept, wrapped tightly, for up to 1 month in the freezer.
Did you make this ice cream? Let us know how it went in the comments!
- Yields:
-
8 – 10
serving(s)
- Prep Time:
- 10 mins
- Total Time:
- 7 hrs 30 mins
Directions
-
- Step 1
In a large bowl, whisk cream, buttermilk, granulated sugar, cocoa powder, vanilla, and salt. Slowly add food coloring until desired color is reached (keep in mind that color will lighten after ice cream is churned). Refrigerate until well chilled, at least 1 hour or up to 3 days.
- Step 2Meanwhile, freeze bowl of ice cream maker according to manufacturer’s instructions.
- Step 3In a medium bowl, using an electric mixer on medium-high speed, beat cream cheese and powdered sugar until smooth.
- Step 4Stir chilled ice cream base and add to bowl of frozen ice cream maker. Churn according to manufacturer’s instructions until base is creamy and smooth and the consistency of soft serve.
- Step 5Spread about one-third of ice cream in a 9″-by-4″ loaf pan. Dollop one-third of cream cheese frosting over and gently swirl into ice cream. Sprinkle with one-third of red velvet cake. Repeat to make two more layers.
- Step 6Tightly cover in plastic wrap and freeze until solid, at least 6 hours or up to 1 month.
- Step 1










Leave a Reply