If you’ve never tried the textural experience of a
cookie or pavlova made from French meringue, buckle up—the light and crispy shell surrounding a marshmallow-y, pillowy soft interior is a true delight. This all-purpose meringue recipe is the first step on how to make those treats, plus a variety of other sweet classics. Since meringue contains egg whites, you cannot eat it raw, so that leaves a plethora of options to bake in into all different kinds of confections, from macarons to Key lime pie, baked Alaska, and meringue mushrooms for a bûche de Noël. Find your favorite or a brand-new recipe that calls for some meringue, and go from there!
Making meringue is pretty straightforward, but it can be intimidating, so we brought Claire Saffitz—the recipe developer and Internet personality best known for her deep knowledge of baking and her ability to teach difficult techniques to less-experienced home cooks—into our kitchens to help show us how it’s done. In her new cookbook, What’s for Dessert: Simple Recipes for Dessert People, she features the below recipe for her version of all-purpose meringue. Watch her walk us through it in the video above, and check out our highlights below for all her top tips and tricks to make yours the best it can be.
What to make with French meringue:
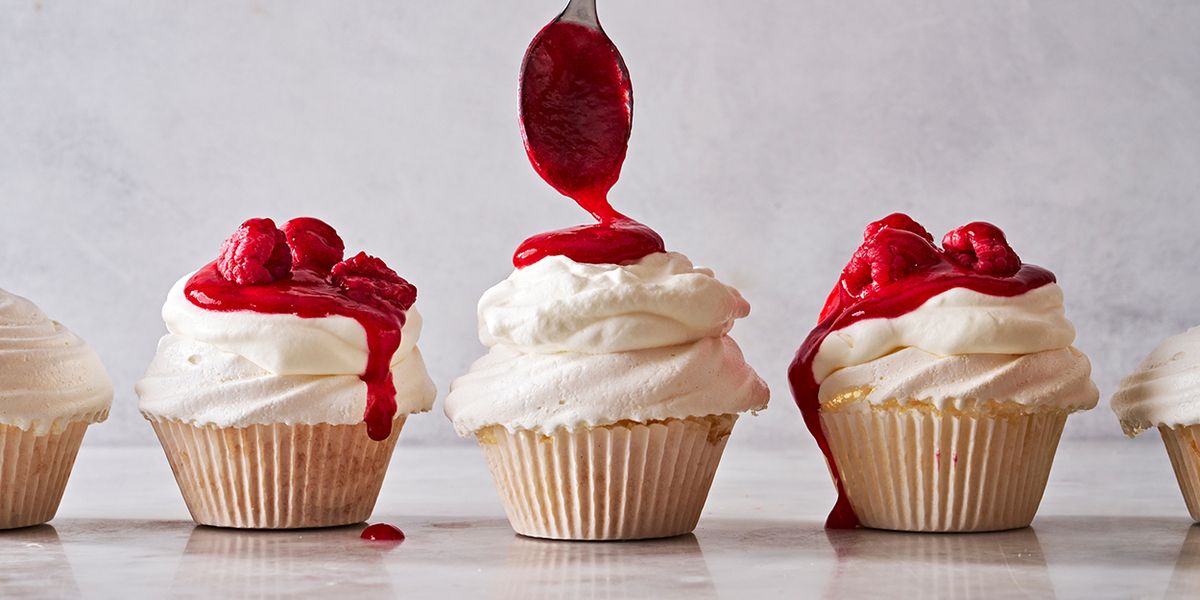
Two classic uses of French meringue are in meringue cookies (check out our recipe for exact oven temperature and instructions) or pavlovas. In both, the meringue is baked (or dried, as Claire puts it) at a low temperature until crisp on the outside and soft on the inside, with the former then being topped with homemade whipped cream and fruit. In New Zealand and Australia, where pavlova originates, topping it with passion fruit is typical, but any fruit you like will work. In our video above, Claire macerates figs, creating a gorgeous, syrupy topping for in somewhat untraditional rectangle-shaped pavlova. Follow along with her, or get creative and make your own version.
Tips for making the best French meringue:
Use a metal or glass bowl. Any presence of fat will inhibit the whipping of the egg whites in this recipe; even a clean plastic bowl sometimes maintains a bit of oil on its surface, so it’s best to avoid to guarantee your meringue won’t deflate.
Use a hand mixer. While it is possible to whip meringue by hand (it’s what they did before electric mixers, after all), Claire prefers to use a hand mixer because of the added control it gives you. You’re able to whip your egg whites on their own first to achieve greater volume, and it’s much easier to know when you have achieved soft or hard peaks when you can see into your bowl.
That said, you can use a stand mixer—simply combine the egg whites, salt, and cream of tartar in a stand mixer fitted with the whisk attachment and proceed with the recipe as written, taking note that the mixing times will be shorter because of the stand mixer’s superior power.
Make sure your sugar is completely dissolved. If the sugar isn’t completely broken down, the water can separate from the meringue mixture and you get this syrupy puddle (called “weeping”). To test, once you’ve finished adding your granulated sugar, take a small dab of meringue and rub it between your fingers—if it feels smooth, you’re good to go.
Speaking of, use granulated and confectioners’ sugar. If you use only granulated sugar, it’s likely you will end up needing to over-beat the meringue in your efforts to dissolve all the sugar. Confectioners’ sugar dissolves almost instantly and has the added benefit of a little cornstarch, which also helps act as a stabilizer for your meringue.
Add different flavors. Claire went with vanilla extract here, but try peppermint (like we did in our peppermint meringues), lemon, or whatever flavors you like to change things up.
—This recipe was reprinted with permission from Claire Saffitz’s second cookbook, What’s for Dessert: Simple Recipes for Dessert People. Be sure to pre-order, and in the meantime, check out Claire’s YouTube channel for even more ideas.—
- Yields:
-
8 – 16
- Prep Time:
-
10 mins
- Total Time:
- 10 mins
Directions
-
- Step 1
START WITH A CLEAN NONPLASTIC BOWL: Ensure you have a large, clean bowl that’s completely grease-free, as any fat residue will inhibit whipping (to be extra sure, you can rub the inside of the bowl with the cut side of a lemon wedge or a paper towel dipped in vinegar). Don’t use a plastic bowl, because even clean plastic retains fat residue.
- Step 2BREAK UP THE WHITES: In the bowl, combine the egg whites, salt, and cream of tartar or vinegar (cream of tartar and vinegar make the egg whites more acidic, which helps to stabilize them). Beat the mixture using a hand mixer on medium-low speed until the egg whites are broken up and fluid, about 30 seconds, then increase the speed to medium and beat until the mixture goes from yellow and translucent to white and foamy, about 45 seconds.
- Step 3ADD THE SUGAR GRADUALLY: Beating constantly on medium-high, very gradually add the granulated sugar, allowing a thin, steady stream of granules to cascade into the bowl. Incorporating the sugar will take several minutes, so be patient, as you want the egg whites to whip slowly and the sugar to dissolve.
- Step 4WHIP THE MERINGUE: Once you’ve added all the granulated sugar, increase the mixer speed to high and beat until the sugar is dissolved (rub a dab between your fingers to check for any grit) and the meringue is thick, glossy, and holds a stiff peak, about 2 minutes.
- Step 5ADD THE VANILLA AND CONFECTIONERS’ SUGAR AND BAKE: Beat in the vanilla, then turn off the mixer and set it aside. Holding a fine-mesh sieve over the bowl of meringue, add the confectioners’ sugar to the sieve and sift it over the meringue. Use a large flexible spatula to gently fold the confectioners’ sugar into the meringue just until it’s incorporated. Use this meringue in our pavlova, our meringue cookies, our peppermint meringue, our pavlova cupcakes, or any other recipe that calls for it!
- Step 1









Leave a Reply