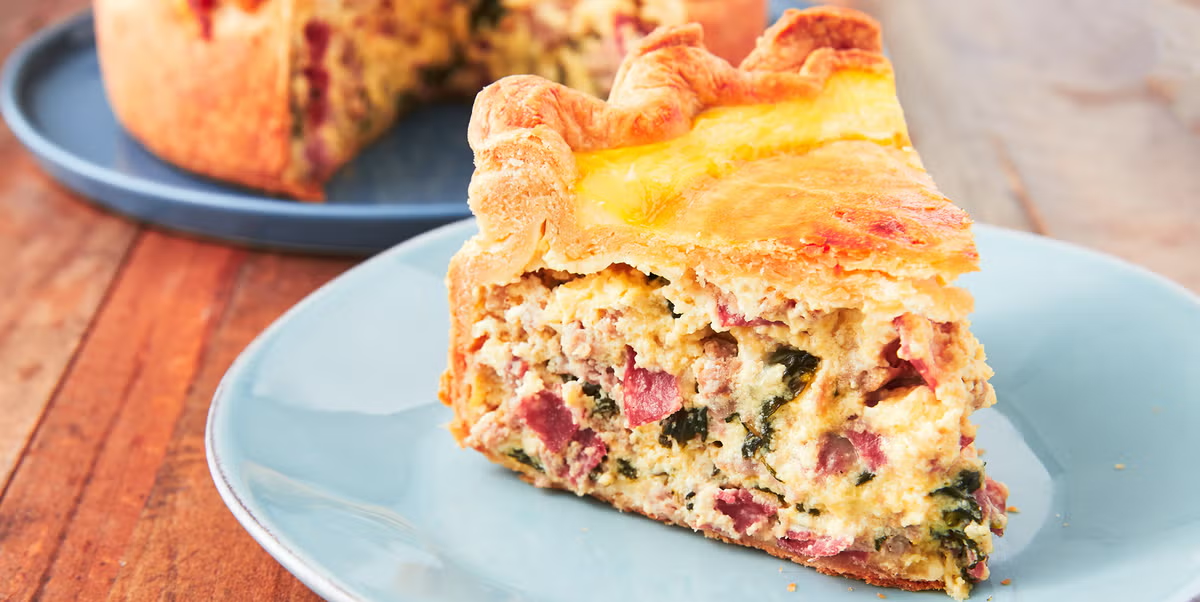
Italian Easter Pie—also known as pizza rustica— is the perfect traditional centerpiece to your
Easter brunch. With a flaky, buttery pie crust and a variety of cheeses, salami, and veggies, this quiche-like pie is an obvious choice to celebrate Easter, but is also a delicious brunch option that you can serve all year long. We love this classic version, but the filling is perfectly versatile: make the crust, then experiment to create your ideal filling. Ready to create this hearty, crowd-pleasing dish? Keep reading on for all of our top tips on how to make this holiday tradition the best it can be:
The history of pizza rustica:
Pizza rustica’s origins date back to the 17th-century, reportedly first served in the Italian countryside around Naples. Since then, it’s been an Easter tradition, often served on Easter Sunday (after the end of Lent). That being said, you don’t have to be celebrating the holiday to prepare this pie—with the rich, flaky crust and versatile fillings, it’s delicious for brunch all year long.
What is in pizza rustica?
Similar to a quiche in nature, pizza rustica starts with an enriched pie crust before being filled with eggs, cheese, meats, and spinach. We chose a variety of cheeses, salami, and spinach for our filling, but you can add any type of cured meats—or even cooked vegetables—that you have on hand! We recommend keeping to the ratios, but you can swap out our ingredients for your favorites to create your ideal filling.
The crust for pizza rustica:
We added eggs to our basic pie crust to make it sturdy enough to hold all of the filling together. Plus, this also makes it richer and flakier, and it’s a breeze to work with. Tip: A spring form pan makes it much easier to slice and serve, so you can simply remove the sides. It’s a tall dish, so you’ll want a pan that is nice and deep.
Can I make it ahead?
Of course! We don’t recommend assembling it and leaving it in the fridge; it’s much better to cook it first. Wrapped tightly in plastic, the cooked and cooled pizza rustica can be refrigerated for up to 5 days and frozen for up to 1 month (it’s best to refrigerate or freeze it in its pan). Once frozen, refrigerate it for 24 hours then bake according to the recipe.
Have you made this recipe? If yes, YAY! Rate it below and let us know what you think!


Leave a Reply