
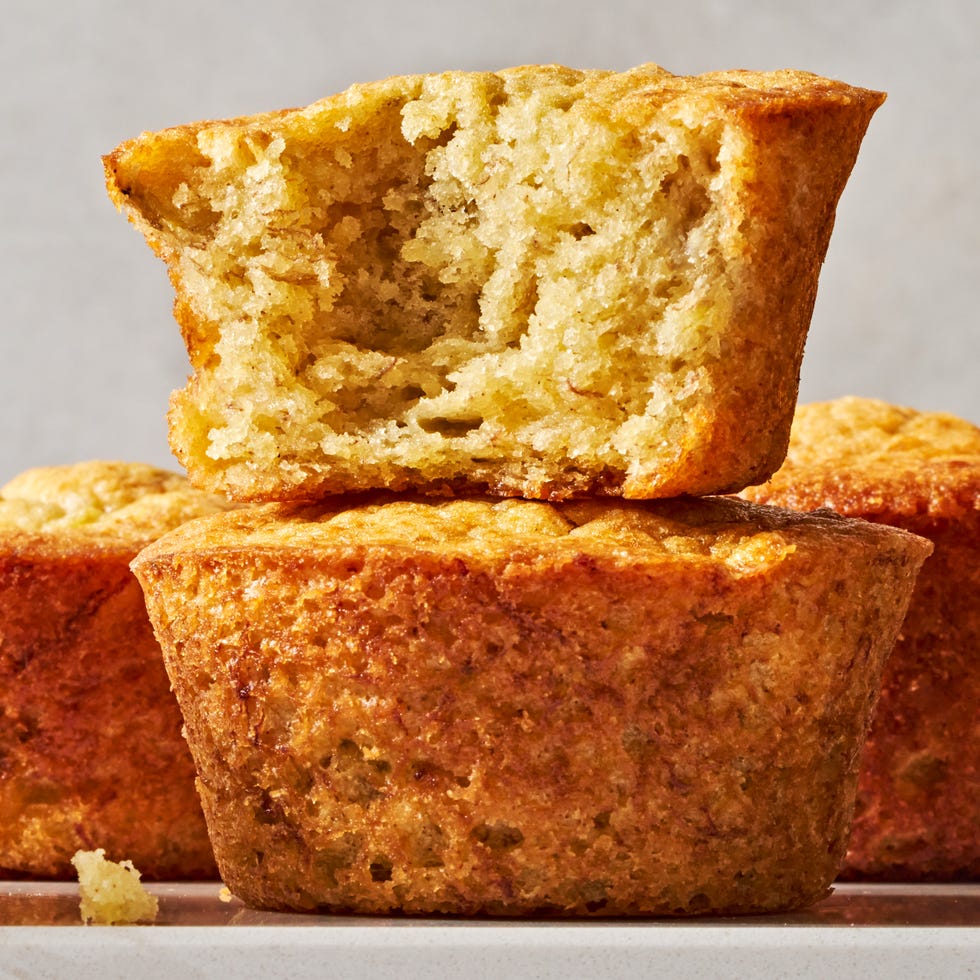
It’s a telltale sign that when bananas start browning, baking is in order. If you’re not recycling week-old bananas into muffins, it’s time to start. Think of sweet, buttery, fluffy muffins with a punch of banana and a hint of cinnamon, and you’ve got these beauties. They’re a little beyond muffin territory—just think of them as a banana cake, flat-top and all, but with the integrity of a muffin.
The great thing about a banana muffin is that you can have it for any meal. Pack one for breakfast with a smoothie, eat one as your sweet-carby treat after a kale-forward lunch, or sneak one on the couch for late-night snacking. Once you’ve found your true love for banana muffins, you can go on to explore them with chocolate chips or walnuts—little additions can make the best differences. Here’s what makes our classic banana muffins a true delight:
How to make the best banana muffins:
— The key to making them fluffy. We’re big believers of making muffins feel and taste like their cakier cousin. Creaming fat and sugar brings on that airy effect we dream of and what makes these top-notch. Whipping oil, butter, and sugar is the first step to aerating the batter. Using a combination of butter and oil means you’ll get the moisture from oil without sacrificing the flavor of butter.
— Ripe bananas only. By “ripe,” we mean nearing the edge of overripe. The banana shouldn’t be mushy, but the skin should be yellow with tiny black specks. Baking with a solid ripe yellow banana will result in a different product than if you make the same recipe with bananas that have passed their ripe phase, black spots and all.
— Add salt later. Salt balances sweetness, but it also aids in elasticity. Salt works with the gluten to create a chewy texture in bread. Although muffins are typically considered quick breads, we want to work against this idea to create a tender crumb instead. Adding salt in the last few seconds of mixing allows salt less time to work on structure and more time to work on flavor.
— Butter those tins. Nonstick muffin pans are great for a couple of reasons. They relieve the potential for a sticky mess, but they also aid in a darker exterior of the baked good. The additional tablespoon of butter in the recipe is for greasing the interior of the tins. Butter will also create a tender exterior and aid in browning. When in doubt, use more butter!
How to store banana muffins:
These muffins are a great make-ahead breakfast for grab and go ease, we highly recommend making a double batch to enjoy throughout the week. Store them in an airtight container or ziplock bag at room temperature for up to 1 week. You can also freeze them for up to 1 month and defrost before eating.
Made these muffins? Let us know how it went in the comments below!
- Yields:
-
12
- Prep Time:
-
20 mins
- Total Time:
- 1 hr 10 mins
Directions
-
- Step 1
Preheat oven to 350° and grease a standard 12-cup muffin tin with 1 tablespoon butter. In a large bowl, using a handheld mixer (or in the large bowl of a stand mixer fitted with the paddle attachment), beat sugar and remaining 5 tablespoons butter on medium speed until creamy and lightened in color. Add oil and beat until incorporated, then add bananas and beat until well combined with tiny lumps remaining, about 1 minute.
- Step 2Reduce mixer speed to medium-low. Add eggs, one at a time, beating to blend after each addition, until incorporated, about 1 minute. Add vanilla and beat until combined.
- Step 3In a medium bowl, whisk flour, baking powder, salt, and cinnamon. Add half of flour mixture to egg mixture and beat just until combined. Add cream and beat until combined. Add remaining flour mixture and beat until just incorporated and small lumps remain. Do not overmix.
- Step 4Divide batter among prepared cups, filling just about to the top of cups. Bake muffins until tops are domed and lightly golden brown, 20 to 25 minutes. Let cool 30 minutes in pan.
- Step 1









Leave a Reply